Pom Poms

I was making Pom Poms for some hats that I knit and my hands were cramping up.

My scissors were getting dull.

My husbands clippers were the answer! It’s faster and it’s oh so satisfying.

I posted this little clip on My instagram and I hope people try it because it is a ton easier with a power tool.

Hats are done.

And the Poms Poms are fantastic.

I got the loome tool and made a bunch of pompoms in all sizes and shapes.

Hearts and cubes. That was a lot of trimming, but let me tell you clippers, it’s all about the clippers.

You probably won’t use scissors again. But I’ll warn you… it is hard to stop trimming.

My Speckle Dyeing Fail

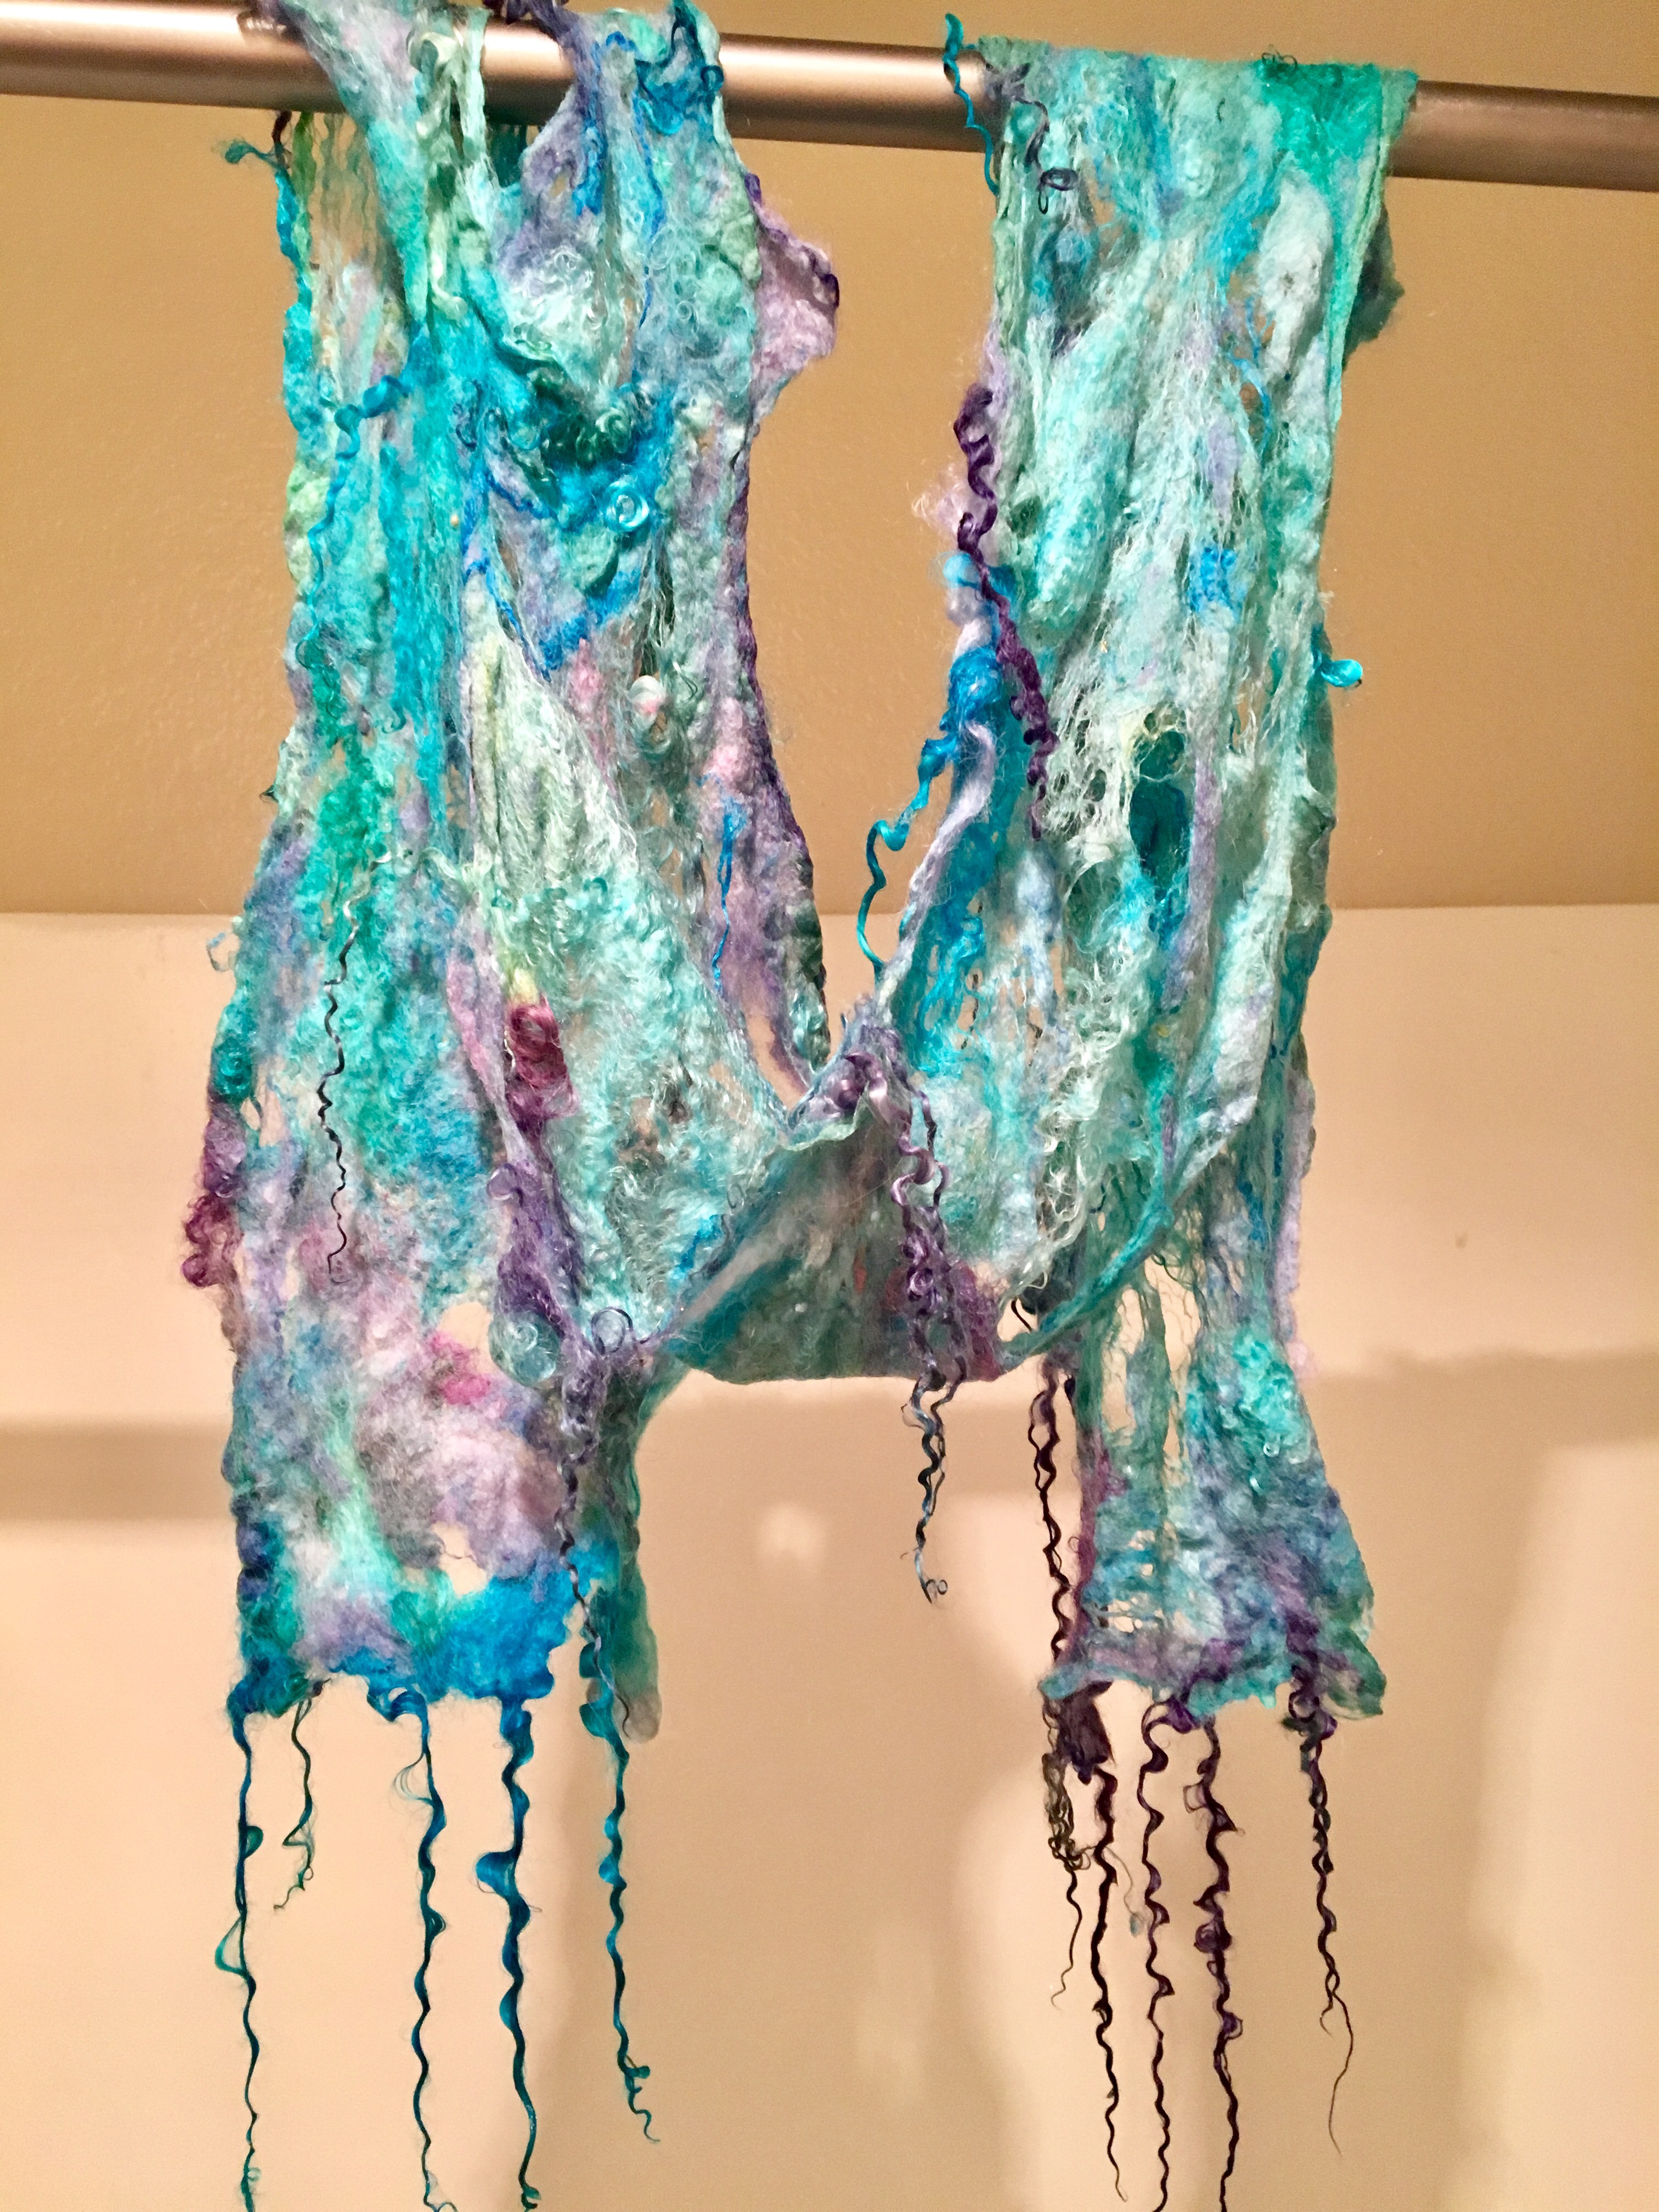
I have a bunch of raw undyed white fleece that I have spun into yarn and I have decided I want to speckle dye my handspun.

I my first try was a total flop. I was going for neon rainbow speckles and first off I ended up with a kelly green, that brought down the entire neon rainbow feel… but also I had no speckles whatsoever! I had followed someone’s YouTube tutorial using plastic wrap in the microwave. Ultimately, I had ruined any chance of speckles from the plastic wrap touching everything and the steam inside the plastic wrap was too much… making water drip, which spread the color everywhere.

There is a technique and know how to get a good speckle yarn. And the dyers who make gorgeous speckles where the dark colors are sharp contrast and where the extra dye isn’t dyeing the bright or lighter colors in the rinsing.

I tried two skeins of handspun first and after my massive fail I thought, “ok…. I need to learn and practice on cheap mini skeins while I work this out…”

Here are the disastrous results of my first attempt on my handspun following the YouTube plastic wrap microwave method

Omg it’s hideous

It’s hideous!! lol It’s so bad, it’s embarrassing. One good thing about failing so miserably? I have wins in my future. I learn something every time.

I was not happy with the failed speckle handspun… it even fails as variegated yarn, IMO . I would not be moving forward with my speckle dyeing on yarn I had processed from raw fleece. I went to my local big box craft store, with 40% coupon in hand, to buy white basic wool/nylon yarn.

Fortunately, I have friends who are patient teachers, as well as, amazing dyers, to help me work through my speckle issues.

In the meantime, I made some squares for the long term project I’ve got going.

I’m making a blanket of squares from leftover yarn scraps. Part of a make along (knit crochet weave felt along) in the Redding Method group on Facebook. The make along is called the Redding Method block party. (hashtag #rmblockparty)

Anyone is welcome to join the group and play along. More on that in a later post.

I am very very pleased to report, I have been much more successful in my speckle dyeing since this first attempt… thanks to help from those with with knowledge and experience in these things..

No plastic Saran wrap or microwave involved.

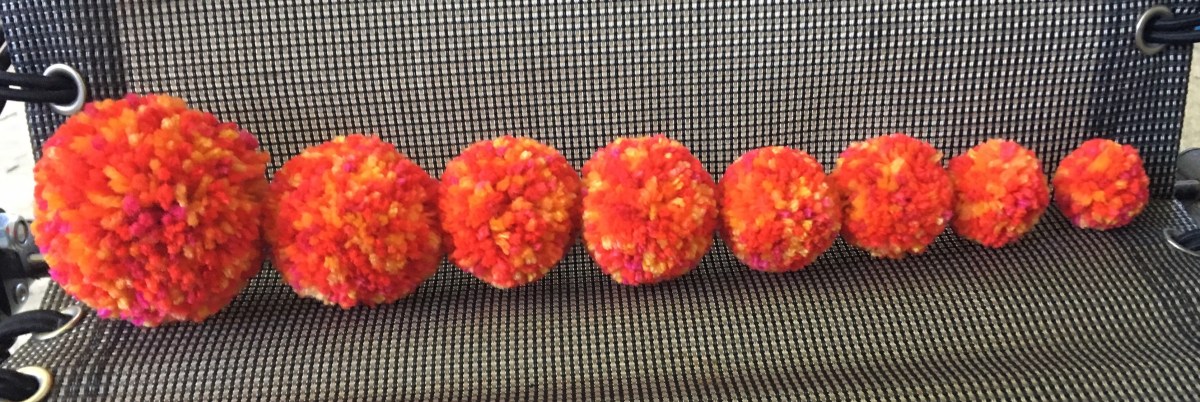
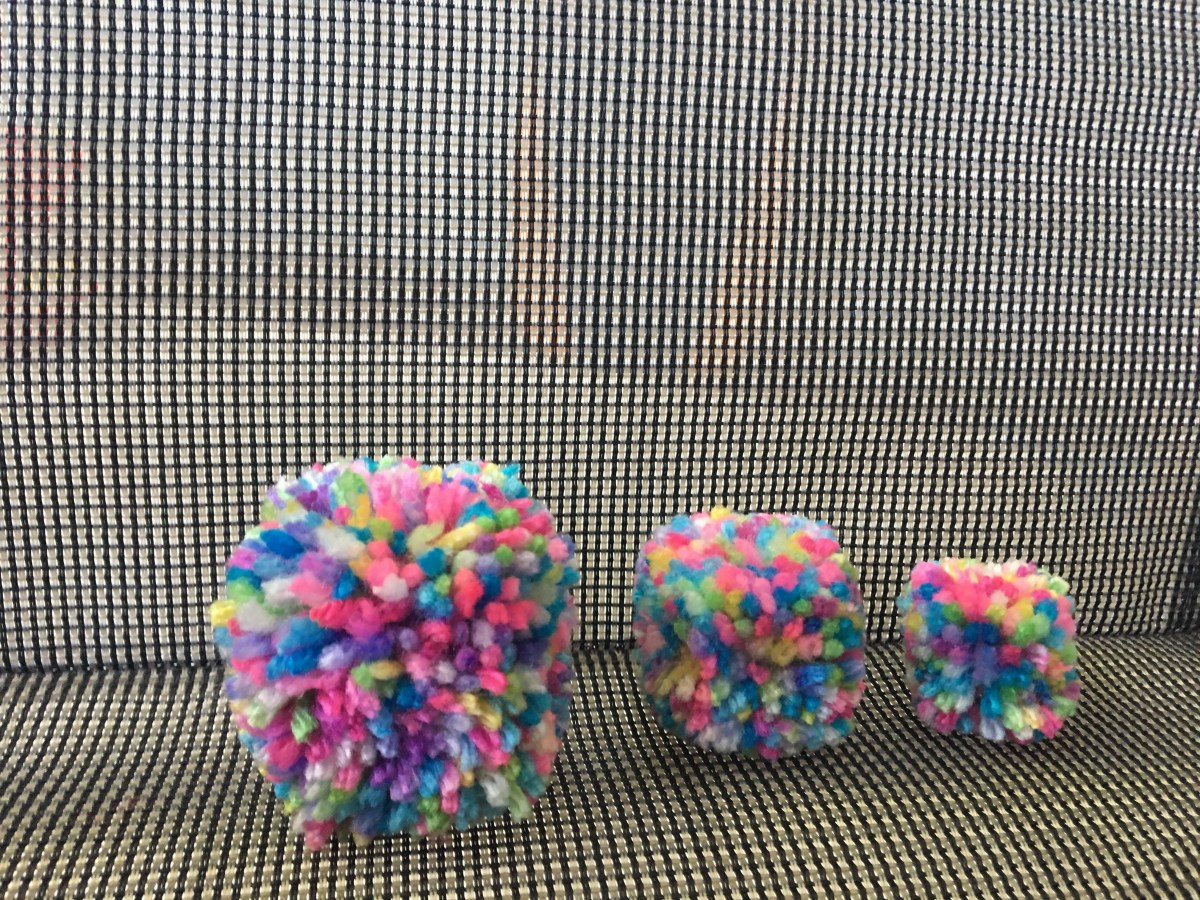
These were my next few attempts.

I’m getting closer…

I’m taking an online yarn dyeing class in January 2018. I can’t wait…

Even with all my trials, I am not confident dyeing my good yarn and especially not my handspun…

I did dye some solid neon minis. These just make me happy.

Cobweb felting…

I gotta say… This process was not at all, what I expected.  Usually, I take great measures not to felt my fiber. I’ve always been afraid of the dreaded accidental felting. I would let the raw wool sink on its own in the scour process, to avoid agitation. I actually bought a laser temperature gun to make sure the fiber I was transferring to a new tub of rinse water, it would be the same. 

I was really careful. I know the mechanics of felting… agitation, temperature change, soap (change in pH). I have watched several videos on the internet showing both how not to felt and even more on how to felt. 


I had my bubble wrap, mesh, pool noodle all set…

Imagine my surprise, when it took me hours and hours to felt a very thin layer of cobweb felt. No exaggeration, it took hours of full on abuse to finally get a result. I wasn’t even sure I had felted the piece when I stopped that days attempt, from pure exhaustion. I physically could not continue. I got on Facebook live to express my frustration and I said jokingly,

“Now I understand why people started violently throwing it at a certain point… because they really were pissed trying to make felt”

All the videos I had watched would say, ‘now is a good time to get out any pent up aggression’ and proceed to wad it up and slam it into their work surface. The only aggression I had was toward this scarf I was failing at felting.

Putting myself on pause was the best thing, even though I couldn’t have gone on if I wanted.


The next day, I went to check…

it was dry and damn if I wasn’t relieved, it was felted!!!

Let me just say wet cobweb felt does not feel felted. Or, maybe it does, but I just don’t have any clue what I’m looking for. I have to say I was really pleased with my result. It was light and airy and soft cobweb felt with teeswater locks dangling and silk integrated into the fabric.

Felt is the first ever cloth humans made. And I managed to make my own… barely. I didn’t know I had managed to create anything at the time, so there is still lots of learning to be done.

I really love the result. I didn’t expect it to be so soft and light. I’m into it… which is great news for all the wool waiting to be played with

My DIY Fiber Tools

As you all know, this craft, this hobby (apocalyptic life skill) can be super expensive so wherever possible I’ve turned to DIY. It’s really nice to have all the different tools for fiber, it is even nicer when I’ve saved $$$.

Everyone has seen the pvc niddy noddy. But have you seen a repurposed desk fan be a bobbin winder?

The pvc swift seems to be popular. I hope this helps inspire anyone needing to save some cash on their tools of the trade. I’m a big fan of the dollar store, pet slicker brush as flick carder or hand cards. I’d love comments hearing what you have made as well as a link if you want to share.

Here are some of mine…

Tail/lock spinning with a small orifice

I made this video to show how I spin locks and leave dangling curls with my small kiwi orifice and 4ounce bobbin.

Before I had any wheels that had the specs for more bulky and textured yarns, I really wanted to try spinning locks and having the curls dangle. I wanted tailspun. While I couldn’t have a yarn any thicker than my orifice, I made it work with thin yarns. I spun it just like I would spin a traditional yarn. I didn’t core spin or anything fancy. I just spun it the way I knew how like it was a traditional yarn. I did spin much longer locks but lamb locks and thin locks worked the best for my orifice. I made this video to show a friend how I did it and thought I’d share it here..

As far as plying, sometimes I would make two bobbins full and then ply them together for twice the dangley locks, or I’d thread ply but most often I’d leave it as a single, and it was fine as a single. You can see in the video even the smallest orifice can fit this size art yarn. So give it a try. I’m spinning blue faced leister lamb locks. And the orange locks are mohair.
https://www.youtube.com/watch?v=SkOWi_jlcwE&feature=share